Braille Signage Production: A Practical UV Printing Checklist
Braille and tactile signage is a precision application. The finished sign must bring together approved wording, an accurate Braille translation, readable visual information, consistent raised elements, suitable colour contrast and a safe installation. Direct-to-substrate UV printing can simplify short runs, room-by-room variations and coordinated sign families, but only when the production plan is agreed before printing begins. Use this checklist to turn a design file into an inspectable, repeatable sign rather than relying on a generic tactile effect.
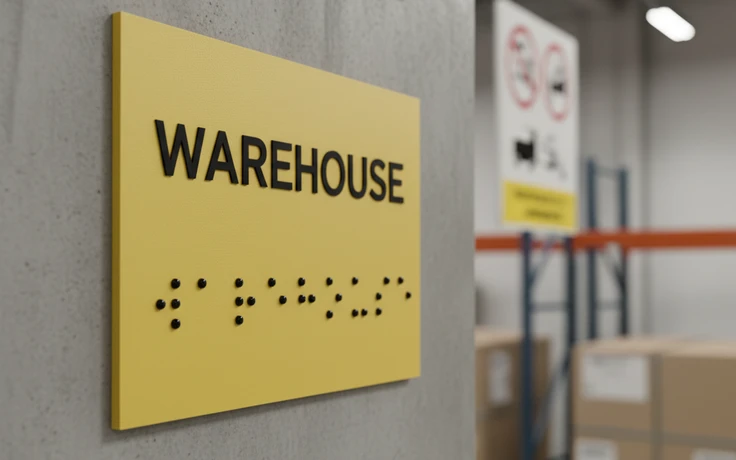
Confirm the governing specification before artwork approval
Accessibility requirements vary by country, building type and project authority. Ask the architect, accessibility consultant or responsible customer to confirm the specification that applies to the installation. The approved brief should cover wording, Braille language and grade, dot geometry, tactile characters, symbols, visual contrast, clear space, mounting height and sign location. Production teams should not infer compliance from a previous project or a general template. Request signed-off content and dimensions, identify who can approve changes, and keep that decision record with the job. This removes ambiguity before material, layer height and fixture work begin.
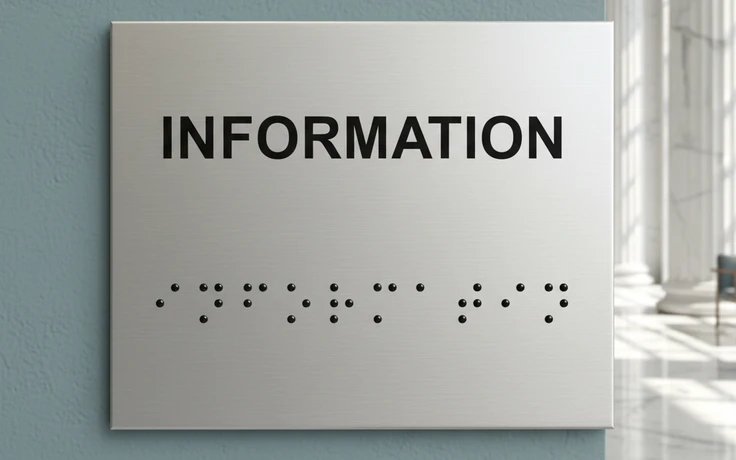
Separate the visual and tactile layers for inspection
Build the artwork so visual text, symbols, Braille dots and other raised elements can be checked independently. Clear layer naming helps the operator confirm what prints as colour, white or tactile relief and reduces the risk of an unnoticed artwork change. Produce a representative first article on the actual substrate, then inspect translation, registration, dot consistency, edge definition, visual legibility and surface finish. Include the intended background and mounting method when they affect contrast or handling. The acceptance sample should be reviewed by the customer or appointed specialist before a full sign family enters production.
Turn the approved sign into a repeatable production record
A wayfinding programme may include hundreds of room names, numbers and sign sizes. Record the approved substrate, artwork version, layer sequence, print mode, fixture position, curing approach and inspection method used for the first article. Retain a physical reference where operators can compare dot formation, colour and finish during later runs. For variable messages, use a controlled data source and a proofing step that catches spelling or room-number changes before printing. A documented recipe makes replacements and late updates easier while preserving a clear path from approved content to the installed sign.
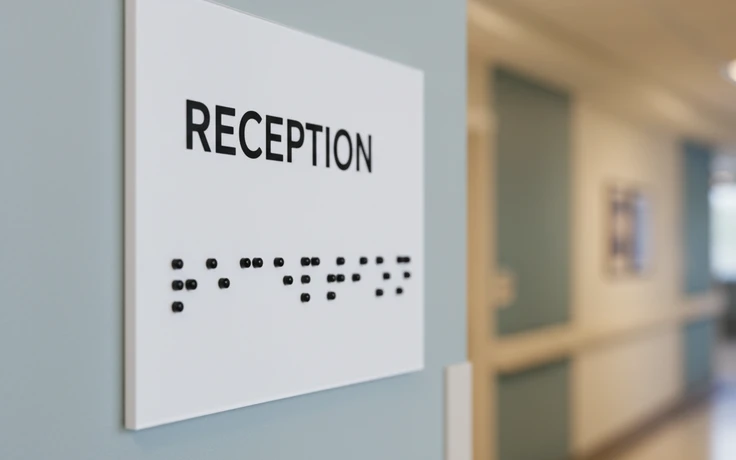
Move from guide to real job
Ready to plan a production-ready print process?
Send your material, artwork, and key job requirements. We will help define a focused first sample and the production checks that matter.
A focused first sample is the quickest way to validate an application.